How to Photograph a Hockey Game
Hockey is one of those sports that is not for the faint of heart. The speed, the contact, the endurance and the intensity make this one of the more aggressive and exciting sports for players and fans around the globe. From a photography perspective, you might need to muster up that same level of determination and quick thinking. I have photographed sports for over 25 years and I must say that hockey is one of the toughest ones I have ever shot. That being said, once you learn how to avoid the most common mistakes and position yourself for success, you will find you will capture some of your favorite action photos.
The first time you attempt to photograph hockey, you may feel like a goalie trying to deflect slap shot after slap shot of technical issues. Let's look at three key areas that will improve your shots almost immediately.
Shooting angles:
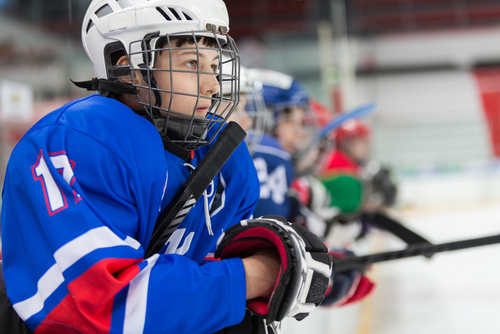 The first goal of any hockey rink owner is to protect the fans and understandably so. Pucks can reach speeds of close to 100mph for pros and even young players can slap the biscuit pretty hard. To protect the fans, rink owners put up a thick wall of plexiglass around the entire playing area. From a photographers perspective, this is a nightmare. Depending on your local rink, that plexiglass gets pretty beat up and scuffed. In the pro photography world, there are a few removable holes in the plexiglass where photographers can stick their very expensive lenses through. So what are your options as a fan or parent who just wants a few shots of their kid? Well, you can scout around the rink and see if there is a place on the ice where the plastic is relatively free from scratches. If you try this, know that it will still affect your focus and darken the exposure slightly. Also know that you can only shoot the action that happens straight in front of you because as soon as you shoot at an angle, the focus and distortion gets worse. An option, but not a great one.
Here are a few other angles to consider. Get up higher in the arena and attempt to shoot down on the action. This gets you above the plexiglass and makes for a clean white background for your photos. The only drawback is that you will need a longer lens to make up for the fact that you are farther away from the action. The best option? Shoot from the bench or penalty box. Now of course if you are at a college or pro game, this is not going to be possible. But for youth or rec. leagues, most of the time the coaches don't care as long as you stay out of the way of the players. Word of caution. While this gives you the cleanest angle in the whole arena, you are taking a risk of being hit with a puck. Be warned and don't take your eyes off the puck.
Metering:
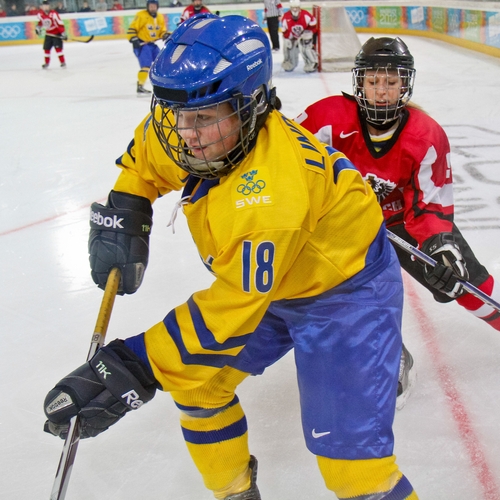 Lighting wise, there are pros and cons to shooting hockey. On the positive side, even though the lighting may be dim in your local ice rink, that huge sheet of white ice underneath the action definitely helps to maximize the lack of light. On the negative side, that huge sheet of white ice also wreaks havoc on your metering system. Without going into the science of camera metering, just know that when your automated metering system sees white, it wants to turn it into 18% gray. Not what you want in this case. So how do you compensate? You have to set your camera to the Manual setting. If you leave it on the Sports or Auto Mode, your meter will constantly see all that white and think you have plenty of light and you will end up with dark images. To easily set your camera to the Manual mode, jump over and take a look at my article on Photographing Indoor Sports. There you will find a step by step explanation for how to make this important camera adjustment.
Post Production:
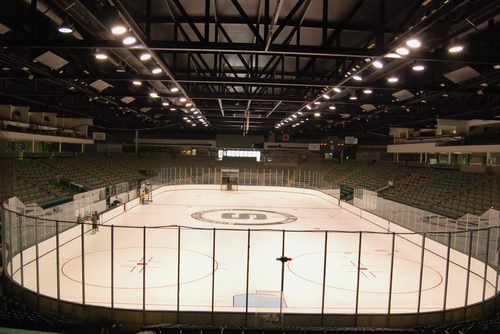 This is a fancy way of telling you that due to the lack of light in most local ice rinks, you will most likely need to make some image tweaks on your computer at home. Because you will need to make some adjustments for each shot, do yourself a favor and do some hard core editing. It is one thing to adjust 30 photos, it's another thing to attempt to correct 300. Check out my article on Photo Editing. No matter how well you did during the game you can't get away from the fact that most arenas are dark, most amateur cameras don't allow for low light action capture and most arena lights pulse these whacky colors that only the camera will see. Do yourself a favor and download or purchase any kind of photo editing software. Some are free and some cost money. Here are a few names to get you started. Photoshop Elements, ACDSee, CorelPaintShop, GIMP, Paint.net, etc. Do a quick search for photo editing software and you will see the different options. You will need to have some sort of software that will allow you to brighten up your images, adjust the contrast, shift the color and sharpen your image. Of course there is a lot more you can do but for now, know that with a quick adjustment, you can improve your photos by leaps and bounds.
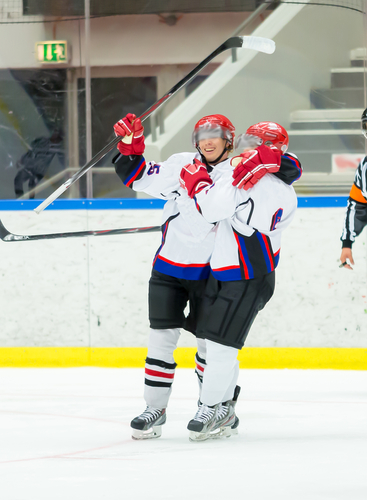 Once you have completed this “hat trick” of photo adjustments, have a blast shooting the action. Don't forget to keep shooting after the goal, that is when all the fantastic celebration happens. A goal is just a slap of the stick but the celebration that happens after the goal is what you really want. I promise to come back and re-visit this sport and talk about specific shots to look for, but for now, follow the steps above and have fun.
NEW! Free Sports Organization Resources
All of TeamSnap's ebooks, articles, and stories in one place. Access Now

