Let’s finish getting your team set up on TeamSnap.
Follow these simple steps to finalize your team setup so you can kick off the season.
1. Create your team
Congrats, you’ve already tackled this step!
2. Download the app
The TeamSnap app is available for download in both the Apple App Store and Google Play Store. It is recommended that you download the app so you can make updates wherever you are.
Use this link to download to your device.3. Add your roster
In the app:
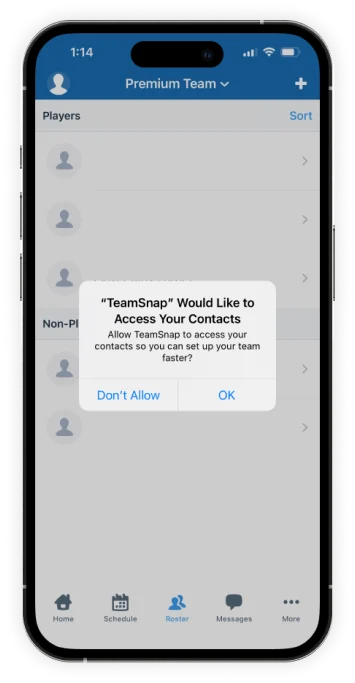
1. When you’re logged into your account, toggle to the “Roster” tab at the bottom of your screen:

2. Click the white “+” in the top right corner to add roster members individually, or import from contacts or an existing team:

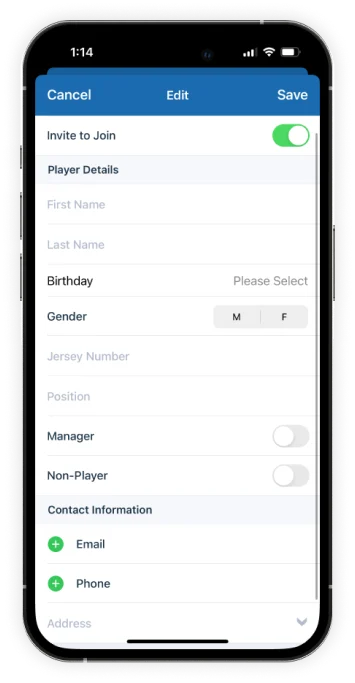
3. If adding players individually, fill in player information, toggle on “Invite to Join” and click “Save” in the top right corner:
4. When you’re logged into your account, toggle to the “Roster” tab at the bottom of your screen:

On the website:
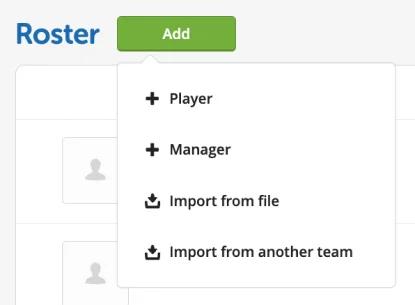
1. When you’re logged into your account, toggle to the “Roster” tab at the top of your screen:

2. Click the green “Add” button to add individual roster members or upload an existing roster file:
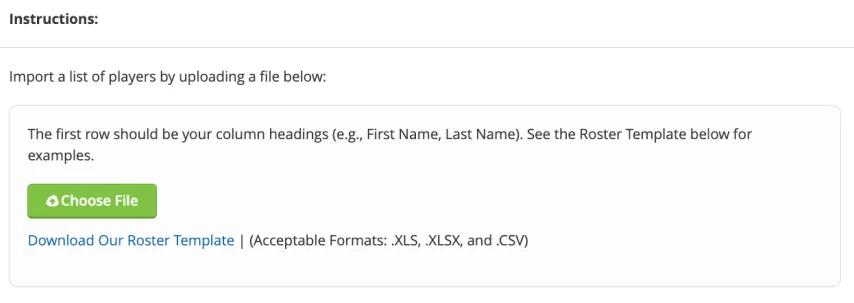
3. Upload the file or use our roster template to bulk add roster members:
4. If inviting individually, check the “Invite to Join” box and click the green “Save” button when roster member information has been added:

5. If uploading a roster, confirm that you want email invites sent and click the green “Save Roster” button when you’re ready:

4. Add team events
In the app:
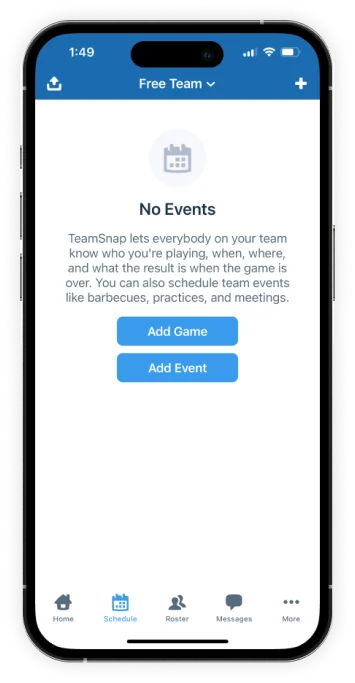
1. When you’re logged into your account, toggle to the “Schedule” tab at the bottom of your screen:

2. Click the “Add Game” or “Add Event” button in the middle of the screen, depending on which type of event you would like to add:
3. Add event details, toggle on “Notify Team” and click “Save” in the top right corner when you’re ready:
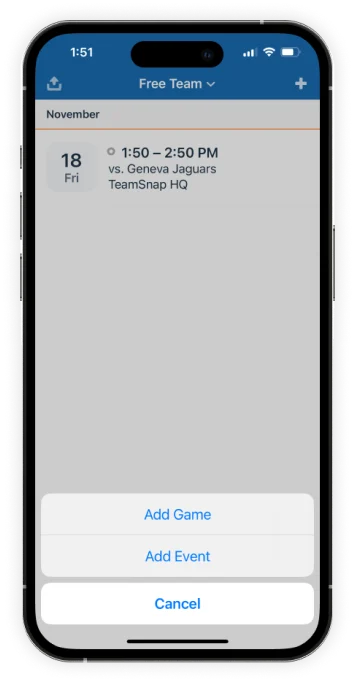
4. Click the white “+” in the top right corner to add subsequent events individually:
On the website:
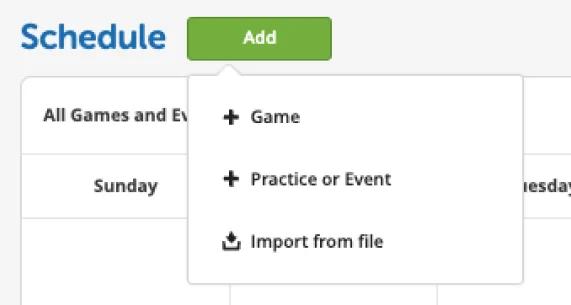
1. When you’re logged into your account, toggle to the “Schedule” tab at the top of your screen:

2. Click the green “Add” button to add individual games, practices or events, or upload a file:
3. Upload the file or use our schedule template to bulk add events:
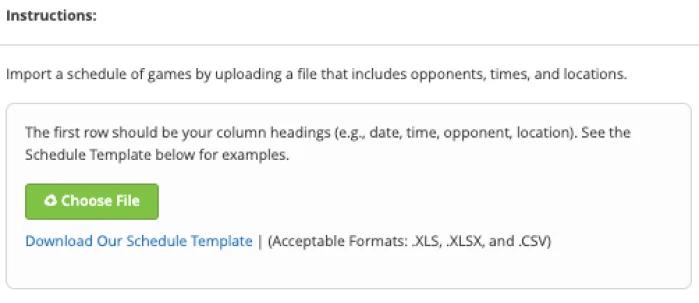
4. If adding events individually, check the “Notify your team?” box and click the green “Save” or “Save and Create Another” when event details have been added:

5. Sync team calendar to your personal calendar
In the app:
1. When you’re logged into your account, toggle to the “Schedule” tab at the bottom of your screen:
2. Click the “Upload” icon in the top left corner of the screen and click the blue “Subscribe” button:
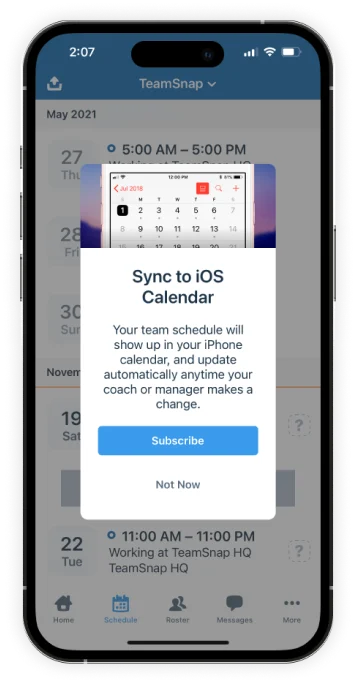
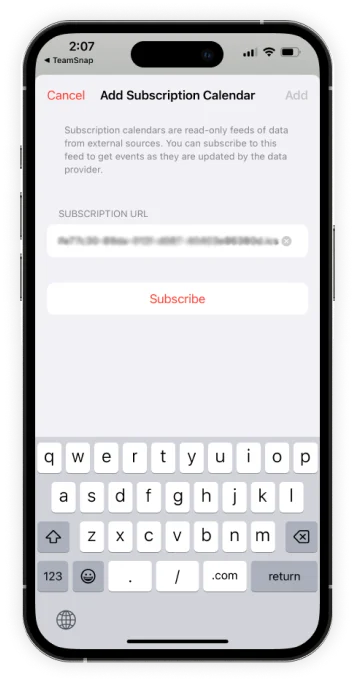
3. Within the calendar app that you are redirected to, click the “Subscribe” button:
On the website:
1. When you’re logged into your account, toggle to the “Schedule” tab at the top of your screen:
2. Click the “Settings” button in the top right corner of the screen and select “Sync Calendar / Export”:
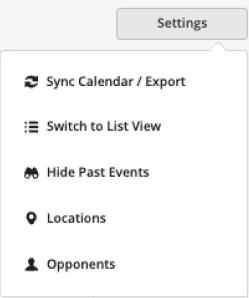
3. Select if you would like to subscribe to the full calendar or games only:

4. Click the “Add” button in the calendar page you’re redirected to:

6. Set up payment
On the website:
1. If you’re planning to use a Basic, Premium or Ultra subscription, go to the “Account” dropdown menu and select “Billing & Plans”:
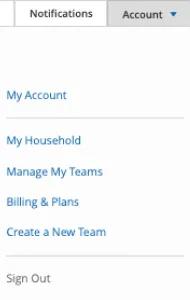
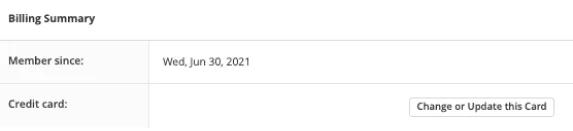
2. Click the “Change or Update this Card” button to add your credit card information:
Need a little more help?
Check out the TeamSnap help center: https://helpme.teamsnap.com/